Interactivity & Debugging in Scratch
🐱 Week 9: Scratch Interactive Programs & Debugging
Interactive Programming — Building responsive projects with events, conditionals, and user input
📘 Period 1: Scratch Interactive Programs
Students will learn to make programs interactive using user input and conditionals.
🎯 Learning Objective
By the end of this lesson, students will be able to create Scratch programs that respond to user actions—including keyboard presses, mouse clicks, and sprite interactions—by using event blocks, sensing blocks, and conditional statements (if...then and if...else).
📌 What Is Interactivity?
An interactive program is one that responds to the user's actions in real time. Instead of simply running from start to finish on its own, an interactive program “listens” for events—such as a key being pressed, the mouse being clicked, or a sprite being touched—and reacts accordingly. This is what makes games, apps, and websites feel engaging and responsive.
🎛️ Event Blocks — The “Listeners” of Your Program
Event blocks tell your program when to start running. Think of them as ears that are always listening for something specific to happen. Without event blocks, your scripts would have no trigger and would not run.
New Event Blocks to Learn:
| Block | What It Does |
|---|---|
when green flag clicked |
Starts the script when the user clicks the green flag. This is the most common way to start a program. |
when [space] key pressed |
Starts the script when the user presses a specific key (e.g., space, up arrow, A, etc.). You can choose any key from the dropdown menu. |
when this sprite clicked |
Starts the script when the user clicks on this particular sprite. Great for buttons or characters the user should interact with. |
when backdrop switches to [backdrop name] |
Starts the script when the stage changes to a specific backdrop. Useful for scene transitions. |
when I receive [message] |
Starts the script when it receives a broadcast message from another sprite or script. Enables sprites to communicate with each other. |
when [loudness] > [10] |
Starts the script when the microphone detects a sound louder than the specified threshold. Enables voice-activated interactions. |
🧠 Conditional Statements — Making Decisions in Code
A conditional statement allows your program to make decisions. It asks a question (a condition), and depending on whether the answer is true or false, it runs different blocks of code.
if <> thenblock: Checks a condition. If the condition evaluates to true, the blocks inside are executed. If false, the program skips over those blocks and continues.if <> then elseblock: An extended version. If the condition is true, it runs the first set of blocks. If false, it runs the blocks inside the else section instead. This allows your program to handle both outcomes.- Nested conditionals: You can place an
ifblock inside anotherifblock to check multiple conditions in sequence.
🔍 Sensing Blocks — How Your Program Gathers Information
Sensing blocks are the tools your program uses to check conditions. They act like the program's senses—detecting what's happening on the stage, what the user is doing, and what state the sprites are in.
Common Sensing Blocks:
| Block | What It Checks |
|---|---|
touching [mouse-pointer]? |
Is this sprite currently touching the mouse cursor? |
touching [edge]? |
Has this sprite reached the edge of the stage? |
touching [Sprite2]? |
Is this sprite touching another specific sprite? |
touching color [red]? |
Is this sprite touching a specific color on the stage? |
key [space] pressed? |
Is a specific key currently being held down? |
ask [] and wait |
Displays a text box to the user and stores their typed answer in the answer variable. |
answer |
Contains the text the user typed in response to an ask block. |
mouse down? |
Is the mouse button currently being pressed? |
mouse x / mouse y |
The current x or y position of the mouse cursor. |
loudness |
The volume of sound picked up by the microphone. |
timer |
The number of seconds since the timer was last reset. |
distance to [mouse-pointer] |
The distance (in steps) from this sprite to the mouse pointer. |
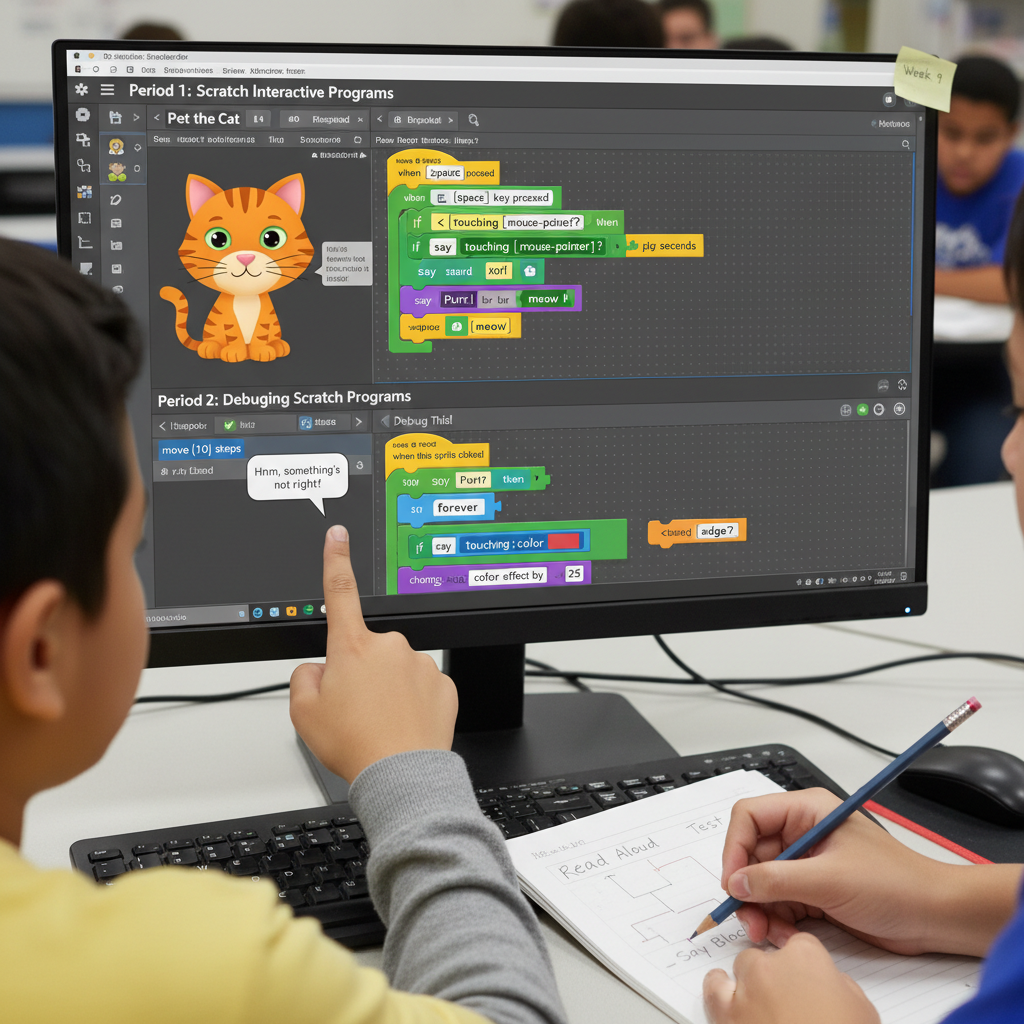
📝 Example Project 1: “Pet the Cat”
Concepts used: Event block (when this sprite clicked), conditional (if...then), sensing (touching mouse-pointer?), sound, and looks.
when this sprite clicked
forever
    if <touching [mouse-pointer]?> then
        say [Purr! 🐱] for (1) seconds
        play sound [meow v]
    end
end
How it works:
- When the user clicks the cat sprite, the script starts.
- The
foreverloop keeps checking over and over again. - Each time through the loop, the program checks: “Is the cat touching the mouse pointer?”
- If yes → the cat says “Purr!” and plays the meow sound.
- If no → nothing happens this time through the loop, and it checks again immediately.
forever loop, the if check would only happen once. The loop makes the sprite continuously responsive.
📝 Example Project 2: “Keyboard Mover”
Concepts used: Event block (when green flag clicked), conditional (if...else), sensing (key pressed?), motion.
when green flag clicked
forever
    if <key [right arrow v] pressed?> then
        change x by (10)
    end
    if <key [left arrow v] pressed?> then
        change x by (-10)
    end
    if <key [up arrow v] pressed?> then
        change y by (10)
    end
    if <key [down arrow v] pressed?> then
        change y by (-10)
    end
end
How it works:
- When the green flag is clicked, the script starts.
- The
foreverloop constantly checks which arrow keys are being pressed. - Depending on which key is pressed, the sprite moves in that direction by 10 steps.
- Multiple keys can even be pressed at the same time for diagonal movement!
📝 Example Project 3: “Ask and Respond”
Concepts used: Event block (when green flag clicked), sensing (ask and wait, answer), conditional (if...else), looks, and sound.
when green flag clicked
ask [What is your name?] and wait
if <(answer) = [Alice]> then
    say [Hi Alice! Welcome back! 👋] for (2) seconds
    play sound [pop v]
else
    say (join [Nice to meet you, ] (answer)) for (2) seconds
end
How it works:
- The program asks the user to type their name.
- The user's response is stored in the
answervariable. - The program checks: “Did the user type ‘Alice’?”
- If yes → a personalized welcome message is shown.
- If no → a general greeting using the user's name is shown (using the
joinblock to combine text).
🧠 Key Vocabulary
| Term | Definition |
|---|---|
| Event | An action that triggers a script to run (e.g., a key press, a mouse click, a broadcast). |
| Conditional | A programming structure that runs code only if a specified condition is true (and optionally does something else if it's false). |
| User Input | Any data or action provided by the user, such as pressing a key, clicking the mouse, or typing text. |
| Sensing | The process of detecting conditions in the program, such as sprite positions, colors, sounds, or user input. |
| Loop | A structure that repeats a set of instructions (e.g., forever, repeat). |
🏋️ Practice Activities
- Interactive Quiz: Create a sprite that asks the user three questions using
ask and wait. Useif...elseto check if each answer is correct and keep score with a variable. - Character Controller: Program a sprite that moves in four directions using arrow keys and plays a different sound for each direction.
- Mouse Chase Game: Create a sprite that follows the mouse pointer using
point towards [mouse-pointer]andmove (steps), and useif <touching [mouse-pointer]?>to trigger a “caught you!” message.
🔧 Period 2: Debugging Scratch Programs
Students will learn strategies to find and fix errors (bugs) in their code.
🎯 Learning Objective
By the end of this lesson, students will be able to identify, diagnose, and fix errors (bugs) in Scratch programs using systematic debugging strategies. Students will understand the difference between syntax errors, logic errors, and runtime errors.
📌 What Is Debugging?
Debugging is the process of finding, analyzing, and fixing errors (called bugs) in your code. Even professional software engineers spend a significant portion of their time debugging—it is a normal and essential part of programming, not a sign that something went wrong. The word “bug” in computing dates back to 1947, when engineers found an actual moth trapped in a computer relay!
⚠️ Types of Errors
| Error Type | Description | Scratch Example |
|---|---|---|
| Syntax Error | A mistake in the structure of the code that prevents it from running at all. In Scratch, the visual block-based interface prevents most syntax errors because blocks only snap together if they fit. However, syntax-like issues can still occur, such as forgetting to connect a C-block’s “hat” to a stack, leaving blocks disconnected, or not filling in a required field. | A block that doesn’t click into place, or a script with a missing block inside a C-block like if...then. |
| Logic Error | The code runs without crashing, but it doesn’t do what the programmer intended. This is the most common and often the hardest type of bug to find. The program isn’t “broken”—it’s just doing the wrong thing. | A sprite is supposed to move forward when the right arrow is pressed, but the code checks for the left arrow instead. The program runs fine, but the behavior is wrong. |
| Runtime Error | An error that occurs while the program is running, causing it to behave unexpectedly or stop. In Scratch, these are rare due to the block-based interface, but they can happen—e.g., trying to divide by zero, referencing a variable that doesn’t exist, or a sprite trying to go to a position that causes unexpected behavior. | A script divides a variable by zero, or a sprite is told to go to [Sprite2] but Sprite2 has been deleted. |
🔧 Debugging Strategies
Strategy 1: Read Your Code Aloud
Slowly read through each block in your script and explain out loud what each block does. Often, saying it out loud will reveal a mismatch between what you meant to code and what you actually coded. You can also explain your code to a partner or even a rubber duck (this is known as “rubber duck debugging”—a real technique used by professional programmers!).
Strategy 2: Test Early, Test Often
Don’t wait until you’ve written 50 blocks of code to test your program. Run and test small parts as you build them. After adding each new feature or block, click the green flag and verify that everything still works as expected. This makes it much easier to pinpoint where things went wrong.
Strategy 3: Use the say Block as a Debugging Tool
Temporarily insert say [message] blocks at key points in your code to track what’s happening. For example:
- Place
say "Inside the if block"inside anifstatement to verify whether the condition is ever true. - Place
say (variable name)to display the current value of a variable at a specific moment. - Place
say "This point was reached"to confirm that a particular part of your script is actually running.
Strategy 4: Check Your Assumptions
Ask yourself targeted questions:
- Is the sprite I’m working with actually the one with the script, or did I accidentally put the script on the wrong sprite or the stage?
- Is the sprite really touching the color or sprite I think it is? (Use
touching [mouse-pointer]?ortouching color []?to verify.) - Is my loop set to repeat the correct number of times? Could it be running forever or stopping too early?
- Are my variables set to the right starting values?
- Did I choose the correct event block to trigger the script?
Strategy 5: Use Scratch’s Built-In Tools
- Green Flag 🟢: Click it to restart your program fresh. Always test from a clean state.
- Red Stop Sign 🛑: Use this to stop all running scripts if something goes into an infinite loop.
- Single Stepping: In Scratch 3.0, you can use “Turbo Mode” (hold Shift + click the green flag) to run scripts at maximum speed, or step through scripts carefully to observe behavior.
- Commenting: Use Scratch’s comment feature (right-click on a block or script area) to leave notes for yourself about what each section is supposed to do.
Strategy 6: Isolate the Problem
If your program is complex, comment out (disable) parts of your code and test smaller sections individually. Once you find which section is behaving incorrectly, focus your debugging efforts there. You can also create a simplified test version of your project with just the problematic code to experiment without distractions.
Strategy 7: Take a Break and Come Back Later
If you’ve been staring at the same code for a while and can’t find the bug, step away for a few minutes. When you come back with fresh eyes, you’ll often spot the error immediately. This is a well-known and effective debugging strategy used by programmers at every level.
Strategy 8: Compare With a Working Version
If you have a version of the project that was working before you made changes, compare the two versions side by side. Look for differences in blocks, values, or structure. This “diffing” approach is commonly used in professional software development.
Strategy 9: Ask a Peer
Sometimes another person can see a bug you’ve missed because they’re looking at your code with fresh eyes. Pair up with a classmate and explain the problem. Even if they don’t solve it for you, the act of explaining the problem often leads you to the solution.
🛠️ Practical Activity: “Debug This!”
Activity 1: Color-Changing Sprite Bug
Scenario: A sprite is supposed to change color and bounce when it touches the edge of the stage, but nothing happens.
Buggy Code:
when green flag clicked
forever
    if <touching [edge]?> then
        change color effect by (25)
        if on edge, bounce
    end
end
Bug: The if on edge, bounce block is placed inside the if block. Since the sprite only triggers the bounce when it’s already touching the edge, and the if on edge, bounce block is designed to prevent the sprite from going past the edge, the timing is off—the sprite may already be past the boundary before bouncing. Additionally, students may forget to add movement blocks (move 10 steps, turn), so the sprite never reaches the edge at all.
Fix: Ensure the sprite is moving (add move (10) steps and optionally turn before the edge check), and restructure the logic:
when green flag clicked
forever
    move (10) steps
    if <touching [edge]?> then
        change color effect by (25)
        if on edge, bounce
    end
end
Activity 2: The Unresponsive Key Press
Scenario: A sprite is supposed to move to the right when the spacebar is pressed, but it doesn’t move.
Buggy Code:
when green flag clicked
if <key [space v] pressed?> then
    change x by (10)
end
Bug: The if check only runs once when the green flag is clicked. At that exact moment, the user likely isn’t pressing the spacebar, so the condition is false, and the sprite never moves. The code needs a forever loop to continuously check for the keypress.
Fix:
when green flag clicked
forever
    if <key [space v] pressed?> then
        change x by (10)
    end
end
Activity 3: The Wrong Score
Scenario: A quiz game is supposed to add 1 to the score when the player answers correctly, but the score goes up by 2 or doesn’t change at all.
Possible Bugs to Investigate:
- Two sprites are both running the same score-changing code (duplicate scripts).
- The
answervariable is being compared with extra spaces or different capitalization (e.g.,"Cat"vs."cat"vs."cat "). - The score variable is not being reset to 0 when the green flag is clicked.
Debugging Challenge: Provide each pair of students with a Scratch project containing 2–3 intentional bugs. Have them:
- Run the project and observe the incorrect behavior.
- Read through the code aloud and write down what they think each block does.
- Use
sayblocks to check variable values and script execution. - Identify and fix each bug.
- Test their fixes thoroughly.
🧠 Key Vocabulary
| Term | Definition |
|---|---|
| Bug | An error or flaw in a program that causes it to behave incorrectly or unexpectedly. |
| Debugging | The systematic process of finding and fixing bugs in code. |
| Syntax Error | A mistake in the structure of code that prevents it from running (e.g., blocks that don’t fit together). |
| Logic Error | A mistake where the code runs but produces incorrect results or unintended behavior. |
| Runtime Error | An error that occurs during program execution, causing unexpected behavior or a crash. |
| Rubber Duck Debugging | A technique where you explain your code line by line (to a person, a rubber duck, or even yourself) to help identify errors. |
| Test Case | A specific scenario or input used to verify that a program works correctly. |
📋 Lesson Summary
| Period 1: Interactive Programs | Period 2: Debugging | |
|---|---|---|
| Focus | Building interactivity with events, conditionals, and sensing | Finding and fixing bugs systematically |
| Key Blocks | when green flag clicked, when [key] pressed, when this sprite clicked, if <> then, if <> then else, ask and wait, answer, touching?, key pressed?, mouse x/y |
say (for debugging), forever loops for continuous checking |
| Skills | Combining event listeners, conditionals, and user input to create responsive programs | Reading code critically, testing incrementally, isolating problems, using debugging tools |
| Projects | “Pet the Cat”, “Keyboard Mover”, “Ask and Respond” | “Debug This!” (Color-Changing Sprite, Unresponsive Key, Wrong Score) |
Test yourself on Digital Technology
Introduction to Sequencing, Loops, and Simple Animation in Scratch
Track your reading & take quizzes
Create free account